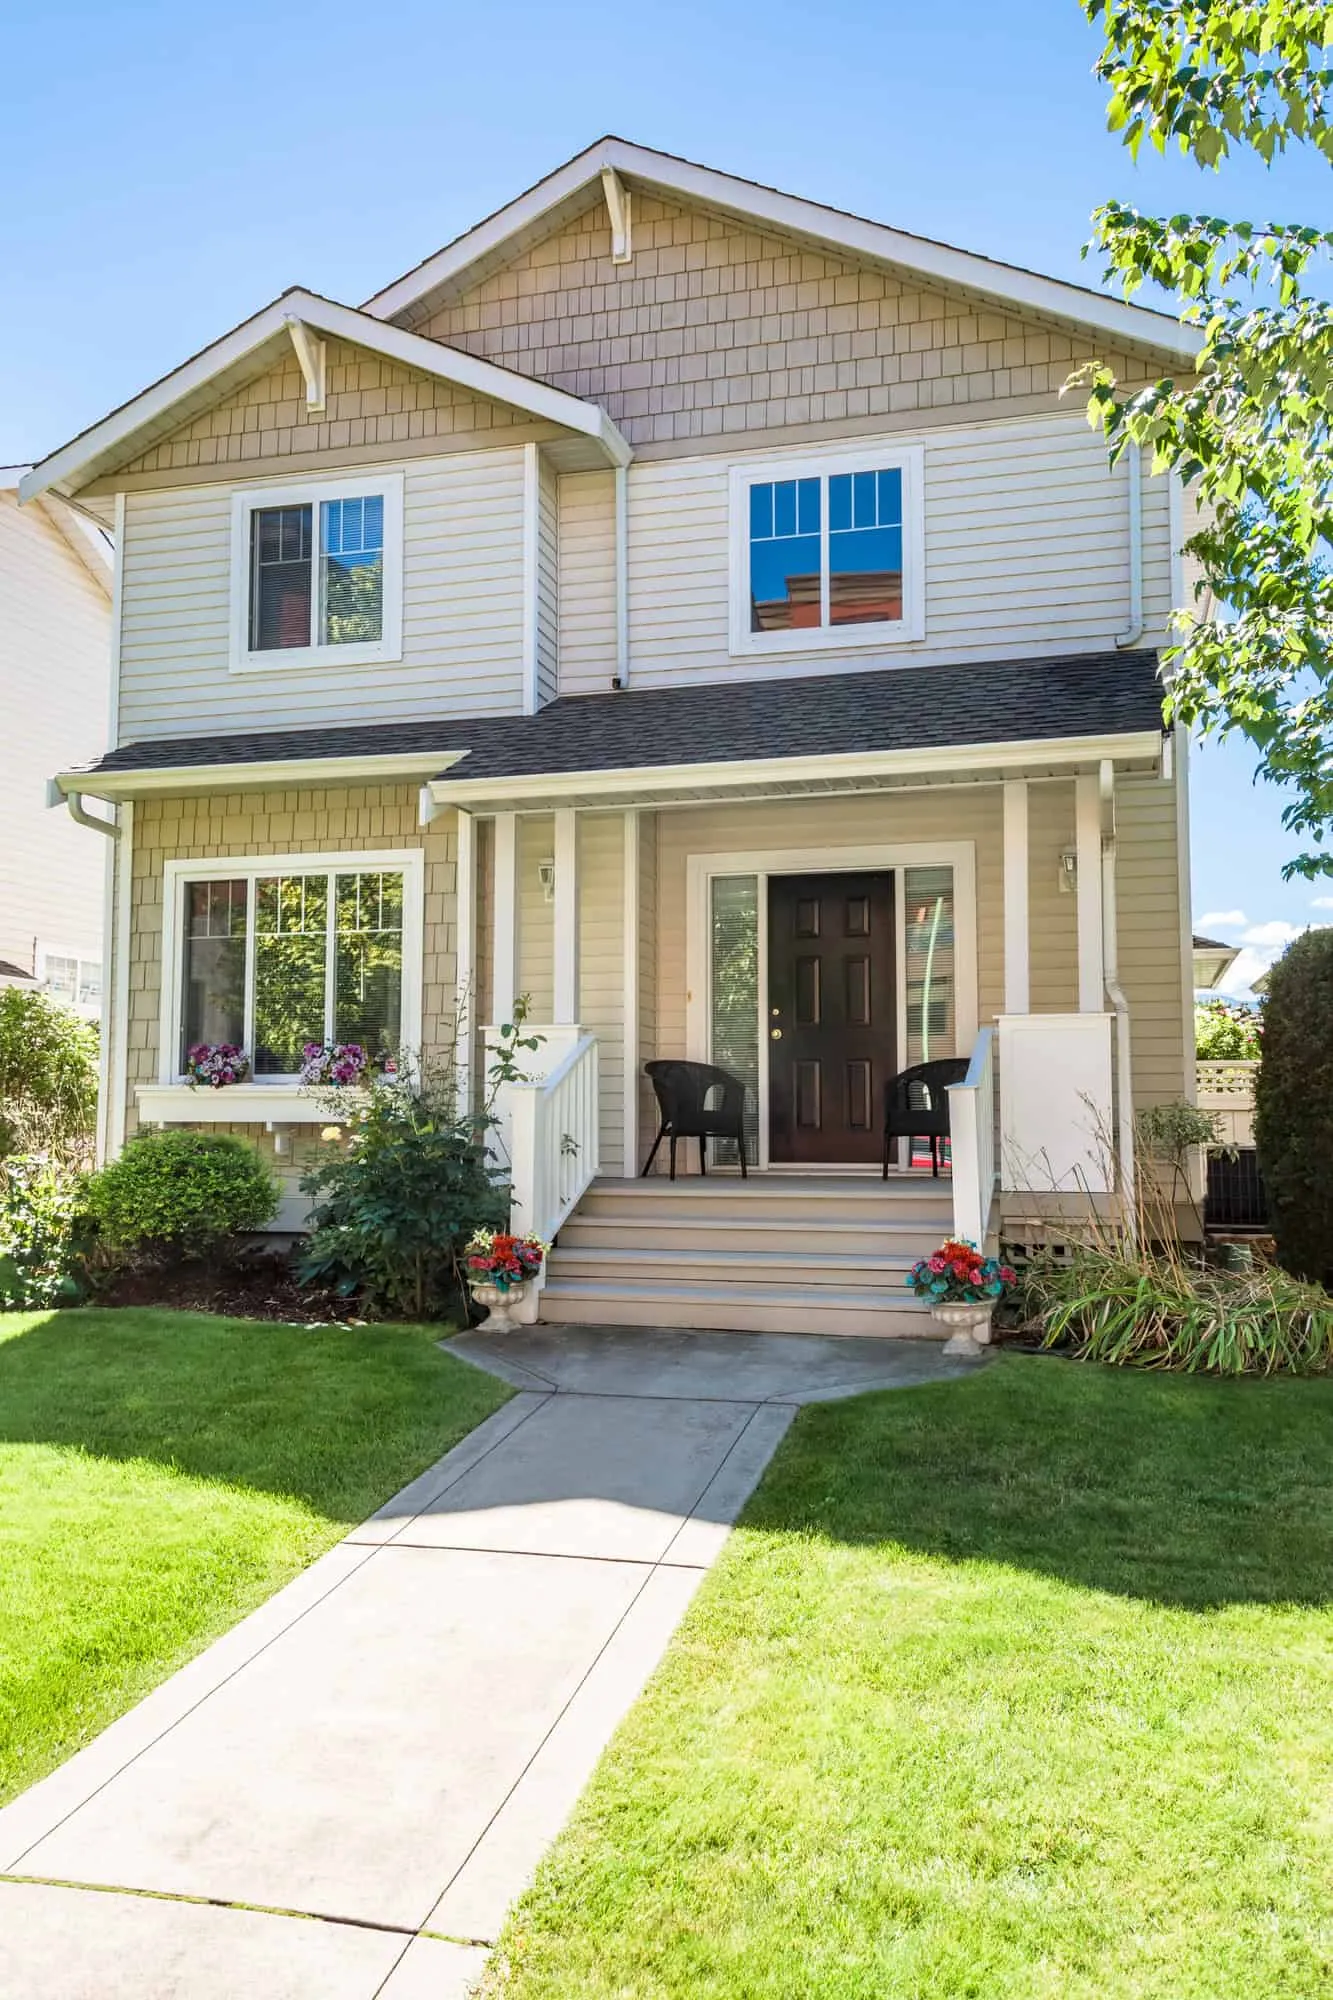

Fiber Cement vs. Wood: How Prep Really Changes for Anchorage Homes
Exterior Painting
If you ask an Anchorage painting contractor what makes or breaks an exterior repaint, the answer is simple: surface prep—and not the same prep for every material. Fiber cement and wood may look similar from the street, but they behave very differently in Alaska’s freeze–thaw, low-angle sun, and wind. Below is a clear, skimmable guide to the changes, why they matter, and how to schedule the work so the paint actually lasts.
Why material matters more in Anchorage than you think
- Freeze–thaw cycles expand and contract materials at different rates; wood moves more than fiber cement.
- Short warm-up windows compress your washing, drying, and priming schedules.
- Salt, slush, and grit attack trim and lower courses, especially near sidewalks and driveways.
- Dew point swings can throw a “dry” surface into condensation right before you prime.
Knowing the substrate lets you pick the right cleaning method, repair approach, primer family, and timing—four levers that decide durability.
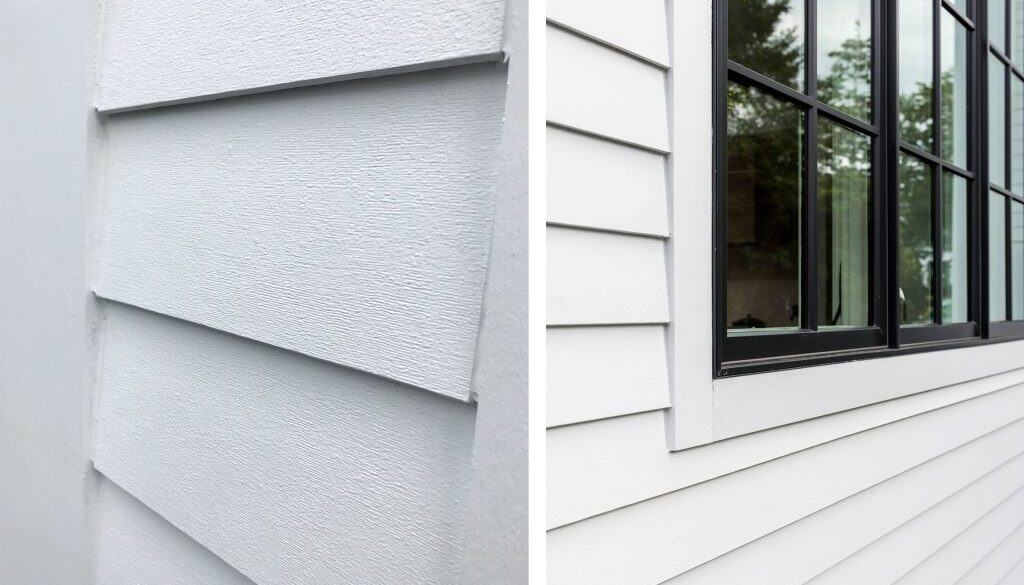
Quick compare: fiber cement vs. wood siding (at a glance)
- Fiber Cement: Stable, non-porous face; holds paint well if chalk is removed; edges and cut ends need sealing; mildew can sit on the surface.
- Wood (cedar, redwood, spruce): Porous, tannin-prone; sensitive to moisture; fasteners and joints move; knots and checks need attention.
Step 1: Inspection—what an Anchorage painting contractor looks for
On fiber cement
- Chalking: White residue that dulls color and blocks adhesion.
- Hairline fractures at joints: Especially where caulk failed during cold snaps.
- Unsealed cut edges: Ends around windows/doors that wick moisture.
- Loose fasteners or proud nail heads: Can telegraph through the finish.
On wood
- Tannin bleed and water stains: Common on cedar and redwood.
- Checks, splits, and cupped boards: Winter drying followed by spring moisture.
- Soft or punky areas: Ice dams and splashback zones near grade.
- Mill glaze on newer boards: Needs to be broken for primer to bite.
Document issues by elevation: south and west faces heat-cycle differently than north and east faces in Anchorage.
Step 2: Washing that fits the material (and the weather)
Fiber cement: gentle but thorough
- Use a low-pressure rinse with a siding-safe cleaner to release chalk and grime.
- Soft-brush scrub problem areas—especially near vented soffits and under drip lines.
- Rinse long enough that the runoff is clear.
- Dry time: Plan 24–48 hours of dry weather when possible; shaded faces take longer.
Wood: clean without driving water into pores
- Favor a controlled rinse over aggressive pressure.
- Use wood-safe cleaners; rinse until pH neutral and suds-free.
- Allow extra drying; moisture meters help confirm you’re ready to prime.
- Be careful on colder days—water lingering in checks can freeze overnight.
Step 3: Repairs and surface prep—what changes most
Fiber cement repairs
- Caulk failures at joints and penetrations: Remove failed material, then re-caulk with a paintable, flexible sealant rated for cold temperatures.
- Sealing cut ends: Prime exposed edges with a compatible primer to prevent edge absorption.
- Fasteners: Set proud nails, spot prime disturbed areas.
- Scuffing? Usually limited to glossy touch-ups. Most fiber cement only needs chalk removal and spot-sanding where paint has feathered edges.
Wood repairs
- Scrape and sand to remove loose paint; feather edges to avoid lap shadows in low winter light.
- Address checks and splits: Fill or bridge with flexible exterior fillers or sealants; sand flush after cure.
- Knot management: Spot-prime knots; severe resin bleed may need a stronger stain blocker.
- Rot remediation: Replace damaged sections; don’t entomb soft wood under paint.
Step 4: Primer selection—different goals for different substrates
Fiber cement: adhesion and chalk control
- Acrylic bonding primers shine here, especially those labeled for chalky surfaces and low-temperature application.
- Focus on a uniform film build to maintain even sheen on large panels.
- Prioritize edge priming on cut ends and patched areas before broad coverage.
Wood: stain blocking and flexibility
- Alkyd (oil) stain-blocking primers are the first line for tannin-rich siding; they penetrate weathered fibers and resist bleed.
- Shellac spot priming helps with knots or smoke-stained areas.
- In less severe areas, high-quality acrylic primers work if tannins are under control and flexibility is the priority.
Light internal link (service fit): For full exterior systems that balance adhesion, stain control, and cure timing in real Anchorage weather, see residential painting in Anchorage (https://paintingalaska.com/services/residential-painting-anchorage/).
Step 5: Caulks and sealants—small bead, huge impact
- Fiber-cement joints: Use a flexible, paintable sealant; tool the beads cleanly to avoid ridges that catch slush and grit.
- Wood joints and trim: Choose high-movement sealants to ride out seasonal expansion; prime adjacent bare wood first for better edge bonding.
- Cold-day rule: Warm tubes indoors, and keep surfaces above the minimum application temperature.
Step 6: Sanding strategy—right where it matters
Fiber cement
- Spot-sand feathered edges only; avoid widespread abrasion that creates dust without benefit.
- Use a fine grit to blend repairs; vacuum before priming.
Wood
- Scuff broad areas to open pores and even porosity across repairs.
- Keep the grits consistent, elevation by elevation, so the topcoat lays down the same.
Step 7: Anchorage timing—work with the weather, not against it
- Warmest hours: Target late morning to mid-afternoon for priming and coating.
- Face sequencing: Start on sunlit elevations; rotate to shade only if the surface temperature stays within range.
- Dew point watch: If the surface temp will slide within 5°F of the dew point near evening, stop early to avoid condensation.
- Overnight protection: Tilt staging tarps or create windbreaks on exposed corners.
Trim, fascias, and details—where failures start first
- Kickout zones near roofs and downspouts collect splashback—prime these first and double-check caulk.
- Lower courses by sidewalks and driveways see salt and grit; consider a more durable topcoat sheen.
- Metal flashings may need a specialty bonding primer before the topcoat.
- Entry doors are a high-impact, low-risk cold-day task: prime/coat inside a controlled temperature window.
Paint system compatibility—don’t guess
- Match primer family to topcoat chemistry and sheen.
- Confirm recoat windows in cool conditions; build in extra time.
- When in doubt, perform a test patch on the north face where conditions are toughest.
Special cases, Anchorage crews see a lot
North-facing fiber cement with persistent mildew
- Add a mildewstat cleaner step before standard washing.
- Dry thoroughly; prime and topcoat with mildewcide-enhanced exterior paint as specified.
Cedar shingles with heavy bleed
- Wash, dry, alkyd prime full face; shellac spot knots; allow a healthy cure window; apply a flexible acrylic topcoat.
Mixed elevations (fiber cement on additions, wood on original)
- Treat each material to its own prep routine, then tie together with compatible primers and matching sheens so the home reads as one.
Neighborhood notes (light local linking)
Campbell Painting serves homeowners across the city. If you’re comparing material-specific prep in Midtown, see our teams that handle busy in-town streetscapes (https://paintingalaska.com/painters-midtown-anchorage-ak/). Downtown condos often need low-odor scheduling and controlled access (https://paintingalaska.com/painters-downtown-anchorage-ak/). Homes near lakes can face extra moisture—see Sand Lake service info (https://paintingalaska.com/painters-sand-lake-anchorage/). For hillside exposures and stronger sun, Rabbit Creek service details are here (https://paintingalaska.com/painters-rabbit-creek-anchorage/).
Quality control checklist you can hand to a crew lead
- Surface is clean (no chalk, dust, or residue); wood reads within safe moisture range.
- All failed caulk removed and replaced; beads tooled smooth.
- Cut edges on fiber cement sealed; wood knots spot-primed.
- Primer family matched to substrate and season; low-temp rating confirmed.
- Recoat the window planned around real weather, not just the label.
- Test patch inspected on worst-case elevation.
Cost and scope: why fiber cement prep often prices differently than wood
- Less scraping on fiber cement typically lowers labor hours, but chalk removal and joint work still take time.
- Wood often requires additional spot repairs, stain blocking, and sanding—more touch points, more passes.
- Material-specific primers, sealants, and specialty tools change the material list, which affects the quote.
A clear proposal will spell out washing method, repairs, primer types, sealants, and the number of coats per elevation.
Scheduling around Anchorage’s calendar
- Late spring–summer: Best for full exteriors; longest dry windows.
- Early fall: Great for trim, doors, and protected faces; watch dew points closely.
- Winter: Interior repainting, cabinet refinishing, garage interiors, and small exterior touch-ups on warmer days.
When to bring in an Anchorage painting contractor
- Mixed materials (fiber cement additions, wood originals).
- Persistent tannin bleed or prior coating failures.
- Tight timelines that demand low-temp primers and clean sequencing.
- Access or safety issues that make DIY risky.
If you want a crew that handles material-specific prep and cold-weather timing, our residential painting in Anchorage page has the next steps and contact details:https://paintingalaska.com/services/residential-painting-anchorage/
FAQs
1) Does fiber cement need primer every time? If you’re coating previously painted fiber cement that’s chalk-free and sound, some topcoats can be applied directly. But if you have chalk, patching, or sheen mismatches, a bonding primer gives you uniform adhesion and appearance.
2) What’s the best primer for cedar siding in Anchorage? Use an alkyd stain-blocking primer for full faces, with spot shellac on stubborn knots. Follow with a high-quality acrylic topcoat.
3) How long should siding dry after washing? Plan 24–48 hours in normal conditions. Shaded north faces, cool days, or heavy textures may need more. Use a moisture meter on wood to be sure.
4) Can I repaint in late fall? Yes, with the right low-temperature products and careful timing. Work the warmest hours, prioritize protected elevations, and guard against evening condensation.
5) Why does my lower siding fail first? It sees the worst of splashback, salt, and grit. Extra attention to washing, priming, and caulking—plus a durable sheen—extends life in those zones.
Ben CampbellBen Campbell is the proud owner of Campbell Painting LLC, a successful painting company based in Anchorage, Alaska. As a third-generation member of the painting industry, Ben has a deep-seated passion for his profession that started with his grandfather, who came to Alaska to sell paint. Born and bred in Alaska, Ben's connection to his community is genuine and strong. Since 2006, he has been providing top-quality painting services, enhancing the beauty of Anchorage one building at a time. He also studied at Santa Barbara City College, solidifying his industry knowledge. Ben's journey, including overcoming adversity, is a testament to his resilience and commitment to his craft, which is reflected in the success and reputation of Campbell Painting LLC.