

DIY Painting Tips For Your Bedroom Painting Project in Anchorage, AK
Interior Painting
DIY Painting Tips For Your Bedroom Painting Project in Anchorage, AK
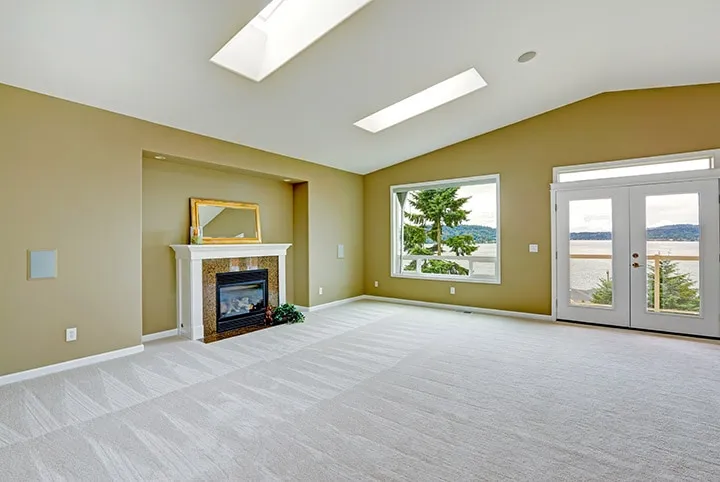
A fresh coat of paint can completely transform the atmosphere of your bedroom, adding personality, warmth, or a touch of elegance.
While hiring a professional painter is an option, many homeowners enjoy the satisfaction and cost savings of doing it themselves.
So, if you’re currently up to the task of painting your bedroom all on your own, here’s something to guide you along the way!
Here are DIY Painting Tips for Your Bedroom Painting Project.
1. Plan Your Color Scheme and Test Samples
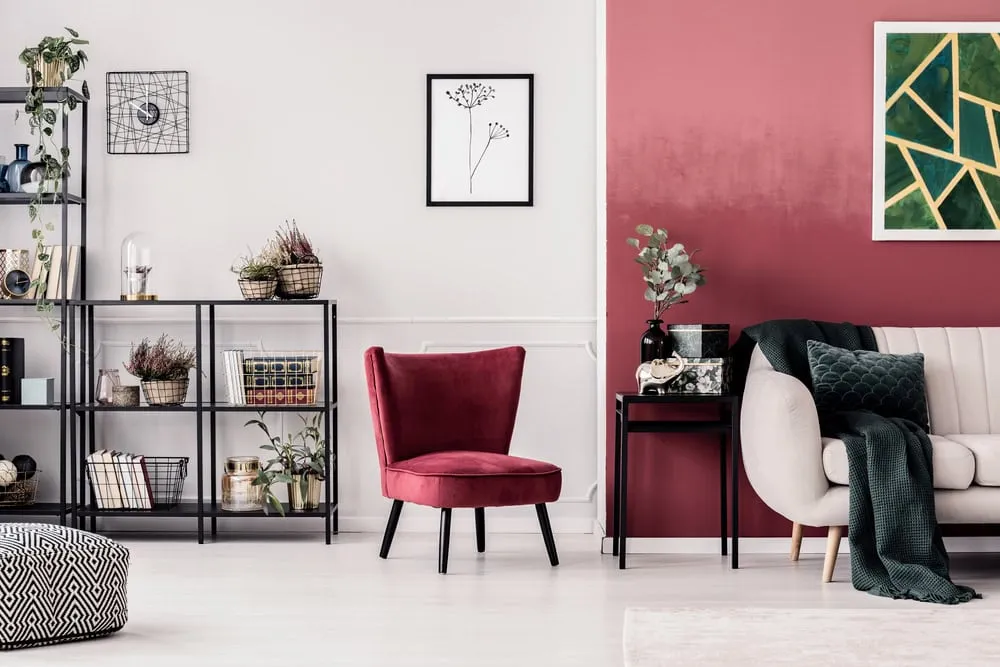
Choosing the right color is the first and most exciting step in your painting project.
Start by considering how you want the room to feel, since this will essentially help you determine which color fits your vision best, and narrow down your paint color choices.
However, before you commit to a final paint color, you should purchase small paint samples first and apply them your bedroom walls.
This way, you get to observe how the color might look in various lighting conditions throughout the day, to ensure that you know exactly what you’re getting for your bedroom space.
This small step will be helpful to prevent costly mistakes, and ensure that you won’t be regretting the final outcome of your chosen paint color.
2. Prepare For The Project Properly
You should know that the foundation to a successful painting project is a comprehensive preparation process beforehand.
To start, move all your furniture out of the room or placing it in the center and covering it with plastic sheeting or drop cloths.
Then, remove switch plates, outlet covers, and any wall decorations.
If there are any damaged areas on the interior surface, make sure to address them accordingly using spackle or lightweight filler.
Cleaning the walls with a damp cloth or mild detergent is also important to remove dust, grease, or residue that could affect paint adhesion.
Remember that while all of these might sound tedious, having proper preparation for your project will also save you from a lot of hassles and paint-related problems down the road.
Proper preparation will save you from touch-ups and peeling paint down the road.
3. Use Primer for a Flawless Finish
While it might be tempting to skip primer, it’s a step that makes a noticeable difference.
Primer creates an even base, covers stains, and improves paint adhesion, especially if you're changing from a darker color to a lighter one.
It also helps the true paint color shine through with fewer coats.
For bedrooms, a tinted primer can be useful if you’re applying a bold or saturated color.
This reduces the number of paint layers needed, saving both time and money.
In cases where the existing paint is in excellent condition and the new color is similar, some paints come with built-in primer for convenience.
4. Apply Paint in the Right Technique
While having the right materials and a can-do attitude can take you far for your project, knowing the right techniques for your project is what will drive your project to success.
Start by using a high-quality brush to cut in along the edges where walls meet ceilings, baseboards, or trim.
Cutting in creates a border of paint, making it easier to roll the larger sections of the wall without worrying about getting too close to the edges.
When using a roller, work in small sections of 2-3 feet and use a “W” or “M” pattern to spread the paint evenly across the wall.
This prevents streaks and ensures full coverage.
Avoid overloading the roller with paint—apply thin coats and let them dry between layers for a smooth, even finish. It’s better to do two or three light coats than one thick, drippy coat.
5. Allow Proper Drying Time
Lastly, an important thing to remember is that patience is essential when it comes to painting.
Thus, you should allow proper drying time for each of your paint coats before applying the next one, to avoid smudges and streaks.
Read the paint manufacturer’s recommendations for drying times, as factors like humidity can affect how quickly paint cures.
You should also keep the room well-ventilated to assist the paint in curing faster.
Once your final coat is dry, you can carefully remove painter’s tape and reattach any switch plates, outlet covers, and other hardware you’ve removed.
All there’s left to do is enjoy the result of your hard work!
If you need professional help with your interior/exterior painting, Campbell Painting is here for you.
Our interior/exterior painting and washing services are available in Anchorage, AK.
Call us today at (907) 444-3657 for a FREE painting estimate.
Related: Handy Tips For Painting Your Bedroom Cabinets in Anchorage, AK
Ideas For Painting An Accent Wall On Your Home in Anchorage, AK
Ben CampbellBen Campbell is the proud owner of Campbell Painting LLC, a successful painting company based in Anchorage, Alaska. As a third-generation member of the painting industry, Ben has a deep-seated passion for his profession that started with his grandfather, who came to Alaska to sell paint. Born and bred in Alaska, Ben's connection to his community is genuine and strong. Since 2006, he has been providing top-quality painting services, enhancing the beauty of Anchorage one building at a time. He also studied at Santa Barbara City College, solidifying his industry knowledge. Ben's journey, including overcoming adversity, is a testament to his resilience and commitment to his craft, which is reflected in the success and reputation of Campbell Painting LLC.