

Try Before You Buy: How to Test an Anchorage AK Exterior Paint Color (Before You Commit)
Exterior Painting, Painting
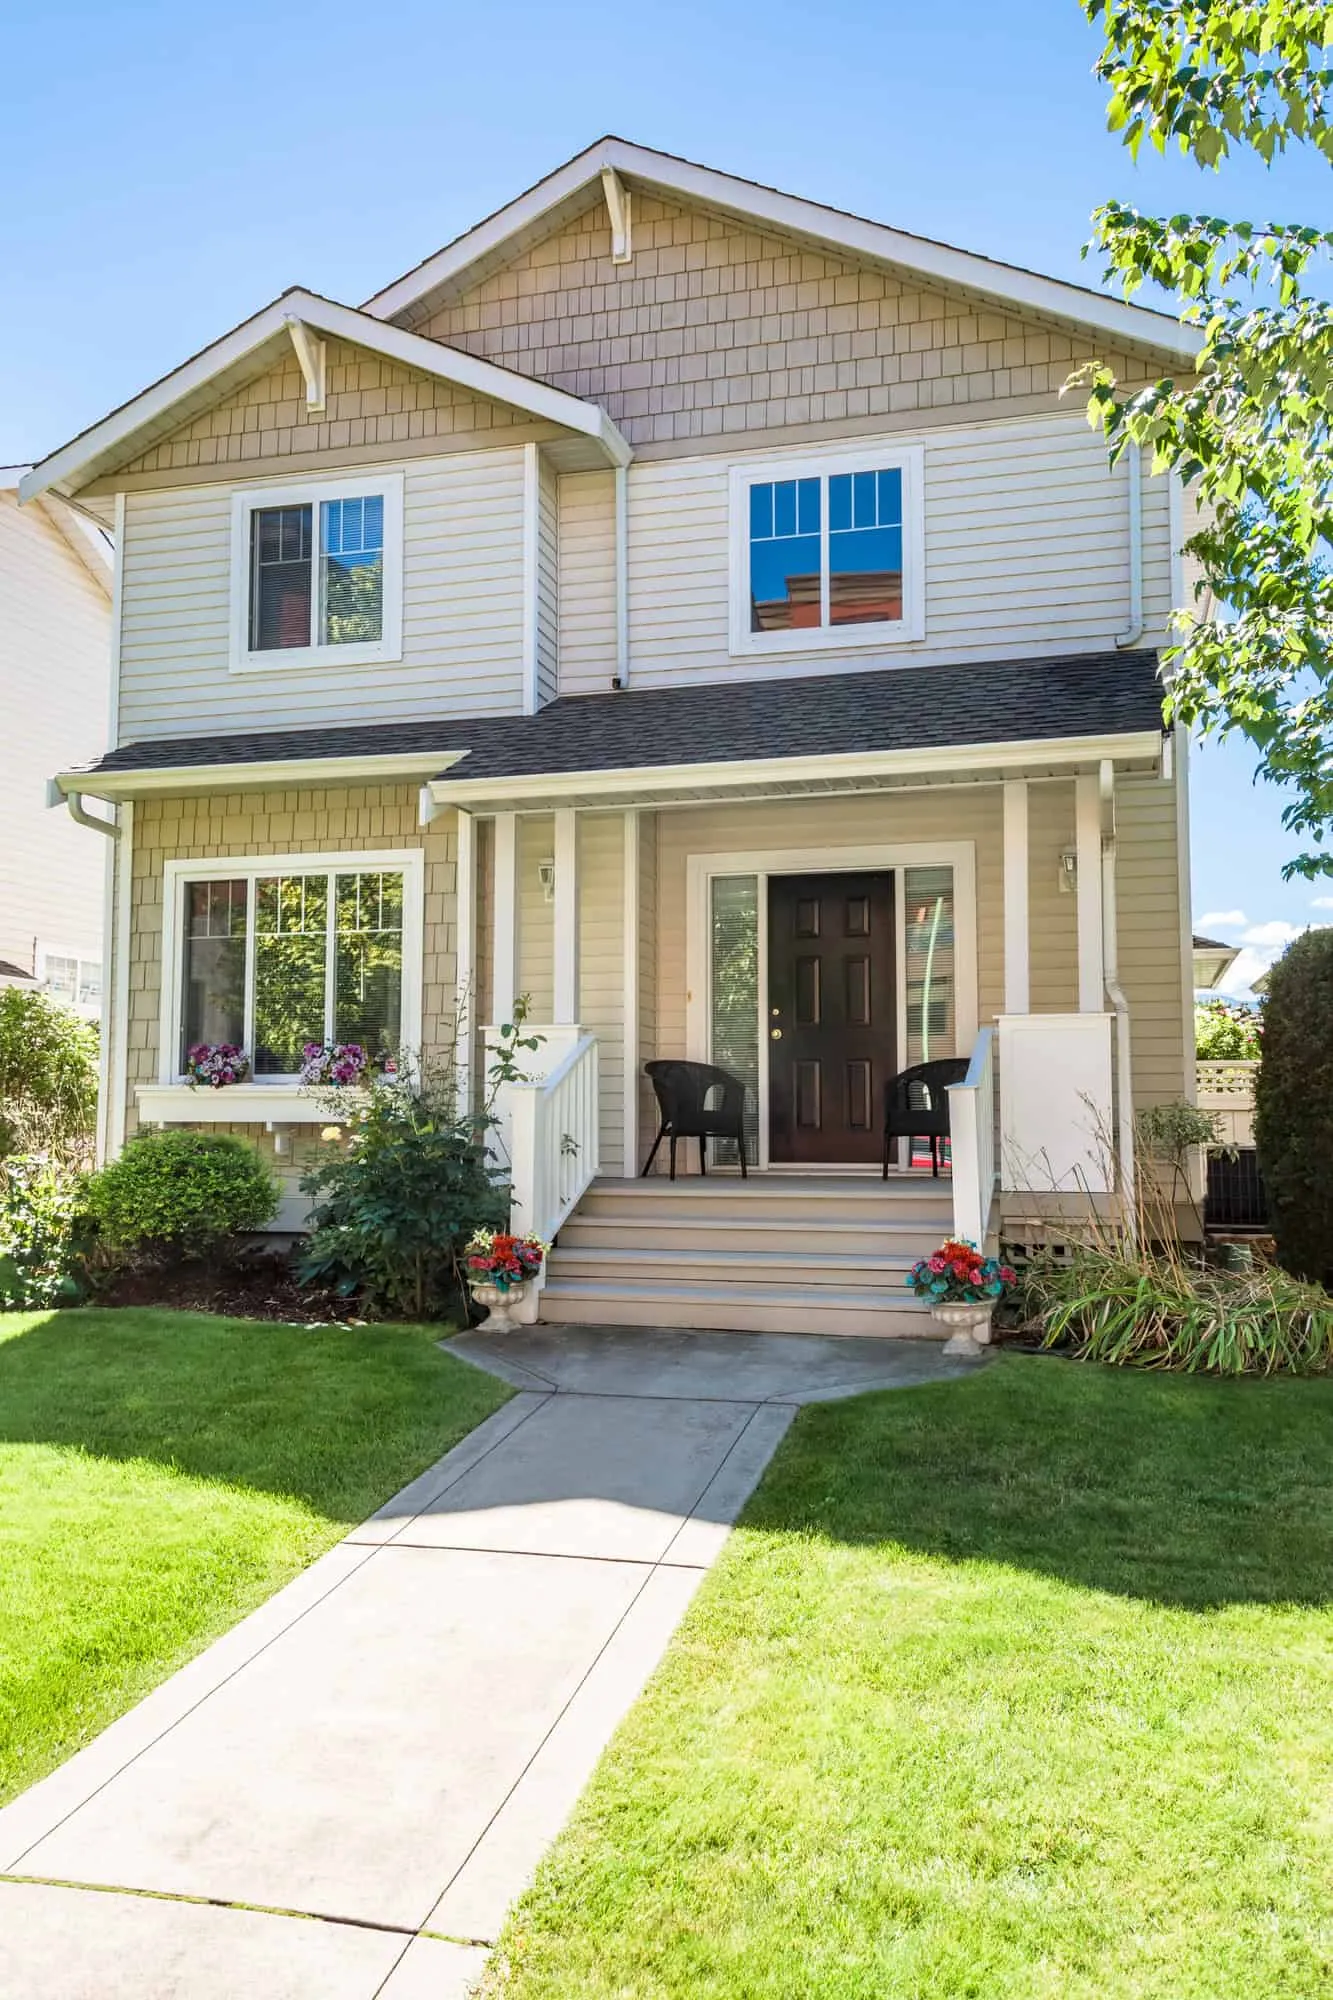
You’ve got a shortlist of swatches, a few strong opinions, and Anchorage weather that loves to test every finish. Choosing an Anchorage, AK exterior paint color is part science, part patience—and 100% easier when you run a clean test plan before purchasing gallons. This guide outlines an easy, repeatable method for sampling, comparing, and locking in a choice that looks good in June light and January twilight.
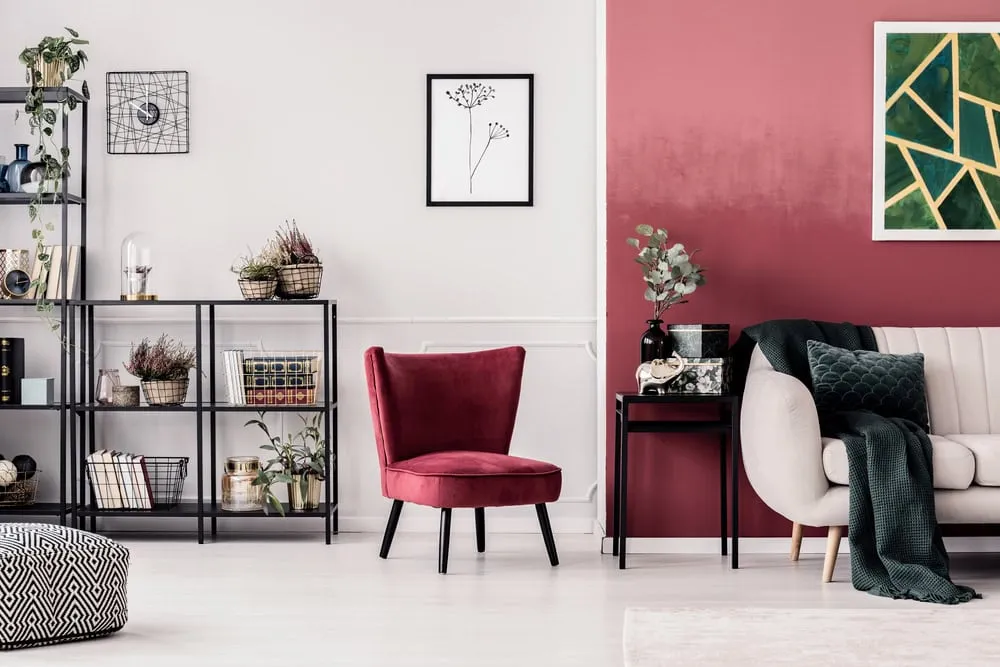
For more planning context about scheduling and prep, keep this handy:7 tips for painting your home’s exterior in Anchorage. If you want help thinking through interior lighting color decisions, skim this, too:how to choose a paint color for your home office—many of the testing habits apply outdoors.
Why testing matters more in Anchorage
- Low-angle sunlight in winter accentuates texture and shifts undertones toward cooler tones.
- Long summer daylight reveals lap marks and sheen differences if the color is marginal.
- Freeze–thaw cycles and coastal moisture influence sheen selection, which affects how the color appears.
- Snow reflection bounces blue light onto façades, making certain grays feel colder than the chip suggested.
Translation: if you only judged color indoors or at noon in July, you’re guessing.
The “Rule of 3” testing framework
Test three candidates, in three places, at three times of day. This simple grid keeps choices rational and prevents second trips.
- Three candidates
Choose a favorite, a lighter neighbor, and a slightly warmer or cooler alternate. That flanking strategy covers most “almost right” misses.
- Three places
- Full sun (south or west wall)
- Open shade (north wall)
- Transitional light (east wall or under an eave)
- Three times
- Morning (9–10 a.m.)
- Late afternoon (4–6 p.m.)
- After sunset, under outdoor fixtures
Take quick photos each time. You’ll evaluate facts, not feelings.
Brush-outs vs. peel-and-stick vs. sample boards
You’ve got options—use the mix that fits your siding and schedule.
- Direct brush-outs on siding
Best for: wood or fiber-cement, where you want to see grain and texture interaction
- Size: at least 24″×24″ per color; larger if the home is tall or set back from the street
- Tip: Feather edges lightly to avoid ridges that catch dust
- Peel-and-stick sample films
Best for: quick comparisons, easy repositioning on sun/shade sides
- Note: they’re smooth; on rough siding, they won’t mimic texture or gloss the same as real paint
- Primed sample boards (foam core or scrap siding)
Best for: vinyl or surfaces you don’t want to spot-prime yet, or when snow/ice limits access
- Mount with painter’s tape; move them around the house during the day
If you’re painting over peeling or patched areas, prime those spots first so your samples are applied to a surface that represents the final system.
Prep your test spots like a mini job
A sample is only honest if it sits on a realistic surface.
- Wash a 2–3 ft area with mild cleaner and rinse
- Sand any loose edges nearby; dust off
- Spot-prime bare wood, stains, or glossy patches (bonding or stain-blocking primer as needed)
- Let it dry to the can’s recoat window before sampling
This small step prevents false reads caused by stains bleeding through or old sheen interfering with the new color.
Sheen changes color—use it to your advantage
On exteriors, sheen affects durability and how the color feels:
- Flat/matte: Hides surface flaws, reads slightly lighter, can chalk more over time
- Satin/low-lustre: Popular balance of cleanability and subtle sheen; reads a touch deeper
- Semi-gloss: Great for doors/trim; looks darker and shows texture more
If your siding will be satin, test in satin. A flat sample of a satin finish can lead you to select the wrong shade.
Don’t forget trim, doors, and accent zones.
A perfect field color can go sideways if the trim fights it. Test small samples of your top trim and door options next to each field color.
- Trim whites: Try a clean white and a softly warmed white; Anchorage winter light can cool whites dramatically
- Front door: One bold option and one desaturated option; test on a poster-size board taped to the door
Use a pencil to note the color names directly on the sample area so your photos are obvious later.
Read your samples like a pro: four quick checks
- Undertone
Does the “neutral” gray go green next to your roof, or the greige turn pink near the brick? Compare against a pure gray card to see undertone shifts.
- Contrast
Stand across the street. Do the trim and siding separate cleanly, or blend into a single value? If everything is mid-tone, the house can look flat.
- Texture reveal
Look along the siding at an angle in late afternoon. If the color + sheen combo exaggerates lap lines or knots, adjust.
- Night read
Under porch or garage lights, does the color go dingy or too yellow? If so, try a cooler trim or a slightly different base.
Seasonal reality checks
- Snow season: Blues and cool grays can feel icy; warmer undertones may balance the reflected light
- Green season: Evergreen and lawn reflections can push warm grays greener; a touch more red or a true neutral might hold steadier
- Dust and rain: On stormy weeks, a darker satin may show streaks less than a chalky matte
If you can’t test across seasons, review past photos of your façade in snow and summer to imagine how reflections will change.
Neighborhood fit without losing personality
You want harmony, not clones. Walk the block and note roof colors, masonry, and evergreen density. Choose a field color that complements these fixed elements, then add personality with a door color or an accent gable. When in doubt, photograph three nearby homes you like and study what’s actually happening: field value, trim purity (warm vs. cool), and accent contrast.
Matching color to your substrate
- Wood siding: Samples should cross knots and grain; spot-prime knots to judge stain blocking
- Fiber cement: Colors read true; watch sheen—satin often wins for cleanability
- Stucco: Texture deepens shadows; consider a hair lighter shade than the chip
- Masonry/foundation: Use breathable products; test for efflorescence areas after a rain
- Metal railings/doors: Always include the exact enamel you’ll use; it will read darker than the chip
Using primer tint to land tough colors
Deep or very light colors can benefit from a tinted primer to improve coverage and accuracy. Ask your paint counter: “What undercoat tint gets this topcoat to target in two coats?” Then include that primer in your sample to see the actual result.
Photograph and label like a scientist
- Shoot each spot straight on and at an angle in the three time windows
- Step back across the street for a context shot
- Add a voice memo with the file name (“North wall, 4:30 p.m., Color B satin with Warm White trim”)
- Back up your choices in a simple folder so you can compare calmly
This quick routine saves arguments and back-and-forth trips.
A simple decision matrix (10 minutes)
Make a 3×4 grid with your three colors down the side and these headings across:
- Morning read
- Late-day read
- Night read
- Trim pairing
Assign a 1–5 score to each cell. Total the rows. Your gut will line up with the numbers—and if it doesn’t, you’ll see exactly why.
Common mistakes to avoid
- Testing is too small. A postcard swatch on a two-story façade won’t tell the truth.
- Skipping primer under samples. Stains or gloss can warp color reads.
- Ignoring sheen. Choosing a shade based on flat paint if you’ll apply satin later.
- Judging only at noon. Anchorage’s low sun and long evenings change everything.
- Forgetting fixed elements. Roof, stone, deck stain, and window color all tilt perception.
Budget and timeline tips for sampling
- Buy quarts for three colors and one trim white; it’s cheaper than a wrong gallon.
- Plan two short sessions: one to apply, one to evaluate and photograph
- Keep receipts and label lids with color, sheen, and wall location for easy touch-up later
When to call in help
If access is challenging (steep grade, tall gables) or you’re juggling repairs with color, consider a consultation and sample application from a professional. While you focus on the shortlist, a crew can prep realistic test zones and apply samples on the surfaces that matter most. For exterior timing, preparation, and product recommendations that fit our climate, bookmarkthese Anchorage exterior painting tips.
What Campbell Painting brings to color testing
- Climate-smart sequencing: We stage samples when surfaces are dry and temperatures are within range, so your read is reliable.
- Substrate-specific prep: Spot-prime and feather-sand test zones to ensure samples match the final finish.
- Side-by-side comparisons: Large brush-outs with labeled trim and door options.
- Clear next steps: If you approve a color, we convert samples into start-ready prep plans and coat counts.
Prefer to DIY the sampling? Use this guide and your photos. If you want a second set of eyes, Campbell Painting can review your grid and help you make confident selections.
FAQs
1) How big should my sample be for an Anchorage, AK exterior paint color?Aim for a minimum of 24″×24″ per color; larger for two-story façades or long setbacks. Large samples read more closely to real life, especially in low winter sun.
2) Do I need to test in winter if I’m painting in summer (or vice versa)?Not required, but helpful. If seasons don’t align, test under cloudy and sunny conditions and review old photos from the snow season and summer to anticipate reflection shifts.
3) Should I test trim and door colors at the same time?Yes. Place trim and door swatches adjacent to each field color. Contrast and undertone are easier to judge when everything is side by side.
4) How many coats should samples get?Two finish coats over any needed spot or tinted primer. Thin one-coat samples can be misleading, especially for deep or ultra-light shades.
5) What if none of my three colors feels right after testing?Note what’s “off” (too cool, too dark, too flat). Pick a neighbor shade that fixes that single trait, retest only that variable, and keep your sheen constant so you’re changing one thing at a time.
Ben CampbellBen Campbell is the proud owner of Campbell Painting LLC, a successful painting company based in Anchorage, Alaska. As a third-generation member of the painting industry, Ben has a deep-seated passion for his profession that started with his grandfather, who came to Alaska to sell paint. Born and bred in Alaska, Ben's connection to his community is genuine and strong. Since 2006, he has been providing top-quality painting services, enhancing the beauty of Anchorage one building at a time. He also studied at Santa Barbara City College, solidifying his industry knowledge. Ben's journey, including overcoming adversity, is a testament to his resilience and commitment to his craft, which is reflected in the success and reputation of Campbell Painting LLC.